We are committed to creating an inclusive and ACCESsIBLE ENVIRONMENT FOR ALL Artists.
This guide is designed to provide clear and detailed instructions for individuals who are hard of hearing or deaf, or if there may be a communication barrier ensuring that you have all the information you need to fully participate in our experience. Our goal is to make this process as seamless and enjoyable as possible and we want you to feel confident + comfortable as you explore the art of painting pottery with us! We are so glad that you are here!
We are a paint-your-own pottery studio where you can come in, pick out your piece, paint it, and leave it with us for 7-10 days where we will glaze + fire your piece, and then you can pick it up a week later. The price under your piece includes everything but tax.

Getting started:
You will begin by putting on hand sanitizer. Any lotions or oils will make it tricky for our paint to stick to your piece. After, you may go ahead and select your piece and may grab it yourself. If you need help, please let a team member know. You may select your own table where our staff will provide you with a water cup and sponge for your brushes. After this, you can head to the paint station and refer to the next section below on our paint station explanation.
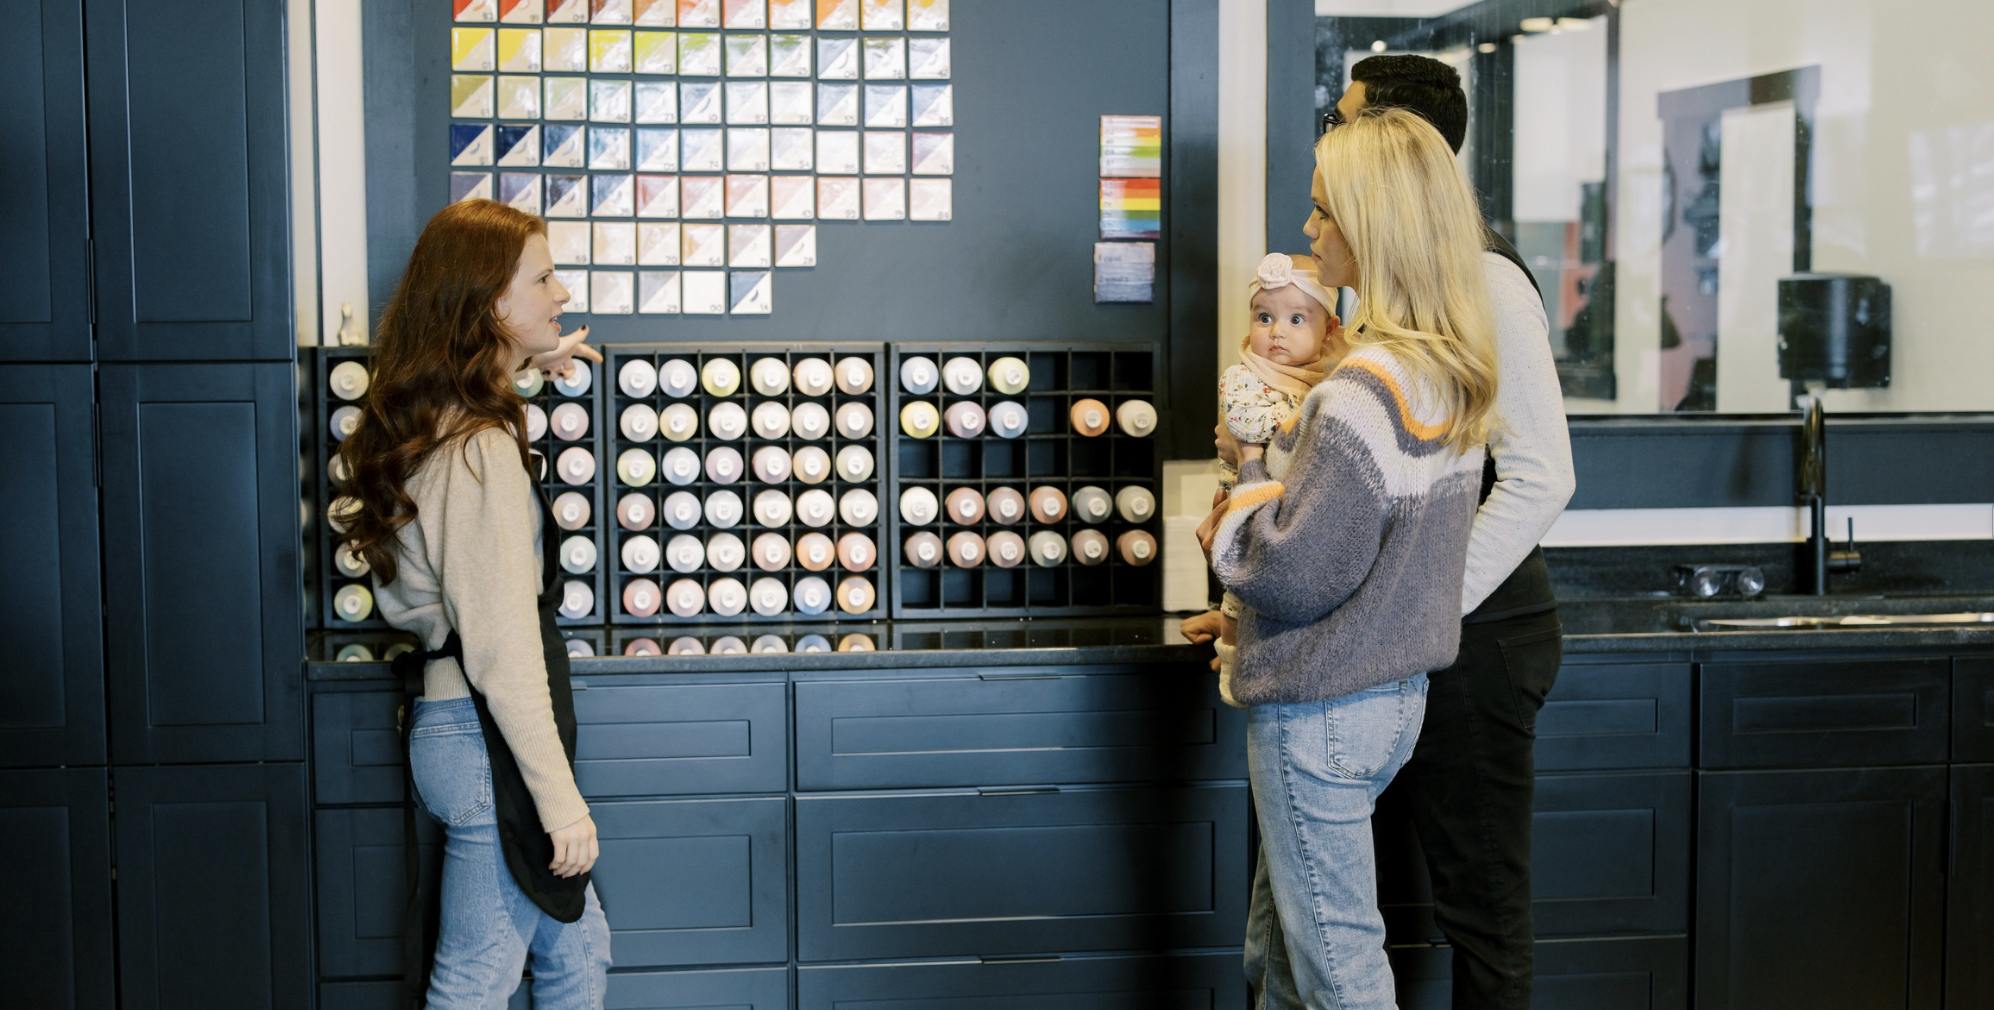
Paint Station Explanation:

All of our paints follow a number system. You go based on what the color looks like on the board and find the corresponding bottle below with the number.
When you first put the paint on your piece, it will look and feel like sidewalk chalk. But have no fear! Your colors will turn out the way they are on the squares on the board.
On the little splatters on the board, you will find out fleckle paints. These are used the same way as other paints, they are just like sprinkles in paint form!
As a few points of reference:
There is a little horse on top of the paint bottles. This is what your pottery will look like if you do not put paint on it.
3 coats = solid coverage. You will see a little purple tile with different coats of paint on it. 1 coat= a little streaky. 2 coats= more coverage. 3 coats= solid coverage. Anything over 5 coats will potentially crawl (refer to the green splatter) and this will make your piece not a food safe item. So, we say to stick to around 3-4 coats!
Blue pen: the blue pen burns off in the kiln, so you can sketch anything on your piece with the pen and you will never see it again - even if you do not paint over it!
Everything is self-serve so the palettes are there and next to them, you will find an expo marker. The marker can be used to write on the paint palette to keep track of your number selection. ‘
*Super Important*: the black pencil is permanent. When you are finished, we will ask that you use this pencil or paint to write your name or initials on the bottom of your piece so we can be sure to get your pieces back to you. If you are painting something with multiple pieces (ex: a box, coasters, measuring spoons, etc.), please write the initials small on the bottom or inside of other piece(s) so we can be sure to get you all of your pieces.
On the other side of the sink, you will find our specialty glazes. These are done very differently than our regular paints, so these cannot be used with our regular paints. If you decide you want to use a specialty glaze for your piece, please request a staff member to help you. Specialty glaze instructions: this glaze requires 4 SOLID coats over the WHOLE piece including insides and bottoms. This piece will not be dipped in our clear glaze and will go straight into the kiln so following these instructions is very important.
Beside the specialty glazes, you will find different techniques. If you want to try one, there is a qr code to scan to watch tutorial videos and our staff will be able to assist you, as well.
Below, you will find our funwriters. These are marked by the same number system as the tiles on the other board. When using these, give a little tap on your table to get out any air bubbles and feel free to practice on your table with a light squeeze. These only need ONE coat as they are very thick and be careful with the pin.
Below the fun writers, you will find all of our paint brushes, sponges, and banding wheels. Remember, these are all self-serve for you to get what you need.
Panning over to the cart, you will see a cart of drawers that has items to assist with different techniques. Some of these items include stencils (we recommend using a pen to trace these on vs. sponging them on, tape, stickers, silk screens, transfer paper, idea books for handprints. Remember, if you are interested in trying a technique, please ask for assistance or refer to the qr code and videos as some of our techniques require certain materials.
Beside the cart of drawers, you will see a computer. This can be used to search for materials if you would like to try our transfer technique where you can print something out, trace it on your piece, and then paint it.
We know, we just gave you a ton of information, but we find all of the information to be useful! We are so glad that you have chosen to create with us today and please do not hesitate to ask any questions to a team member!

When you are finished:
You can leave all painting materials, as well as your finished pottery on the table. Be sure that you wrote your name or initials somewhere on your piece with either paint or the black pencil. You may proceed to the register where our team will gather your information for pick up and take your order. Our team will be collecting your name and your phone number so that we can text you when your order is ready for pick up! Thanks again for choosing to paint with us and we can’t wait to see what you created!
If needed, please feel free to request a piece of paper to write down your details.
